D1 download link here:
http://www.enspiar.com/dmdb/viewMission.php?id=1313
D2 download link here:
http://www.enspiar.com/dmdb/viewMission.php?id=1314
Info on each individual level, including overviews on layout and unconventional weapons loadouts:
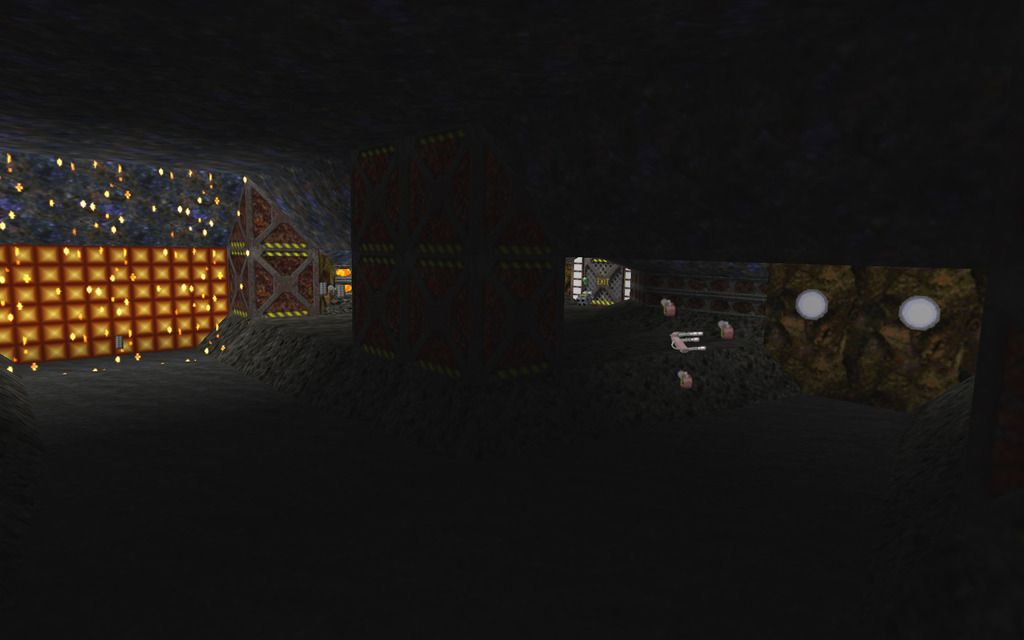

Level 1: "Welcome Wagon"
The focus of the opening level is on the center room, with medium-sized corridors and support beams for dodging fire. Both versions have only the basic Lasers and Vulcan Cannon for primary weapons.
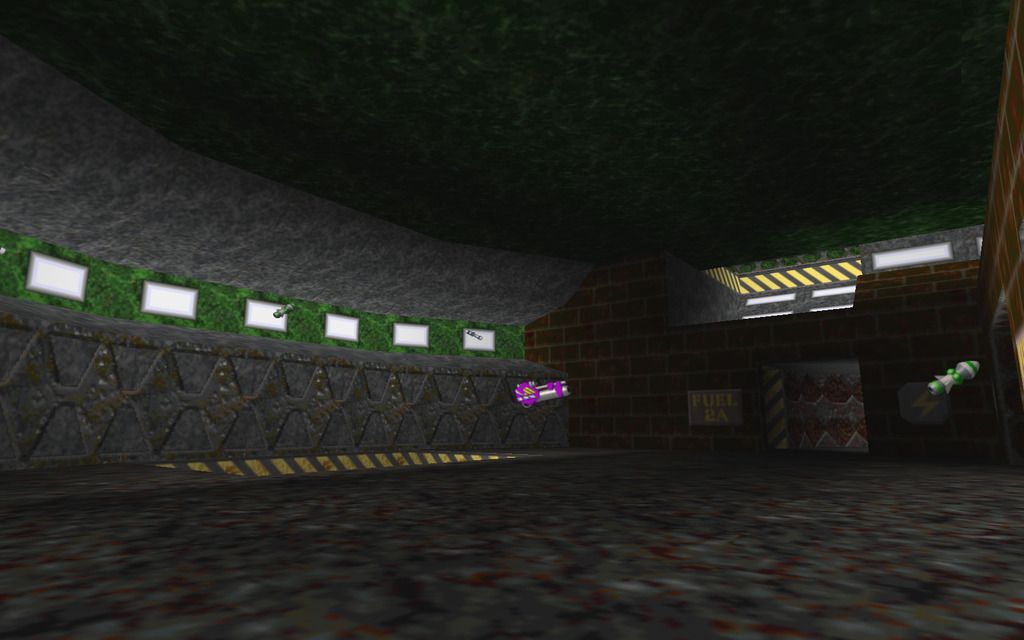
Level 2: "Relapse"
Two taller rooms are connected with some areas provided for ratting or camping. Primary weapons in both versions are only the Spreadfire, Plasma and Fusion Cannon unless you carry weapons over from Level 1.

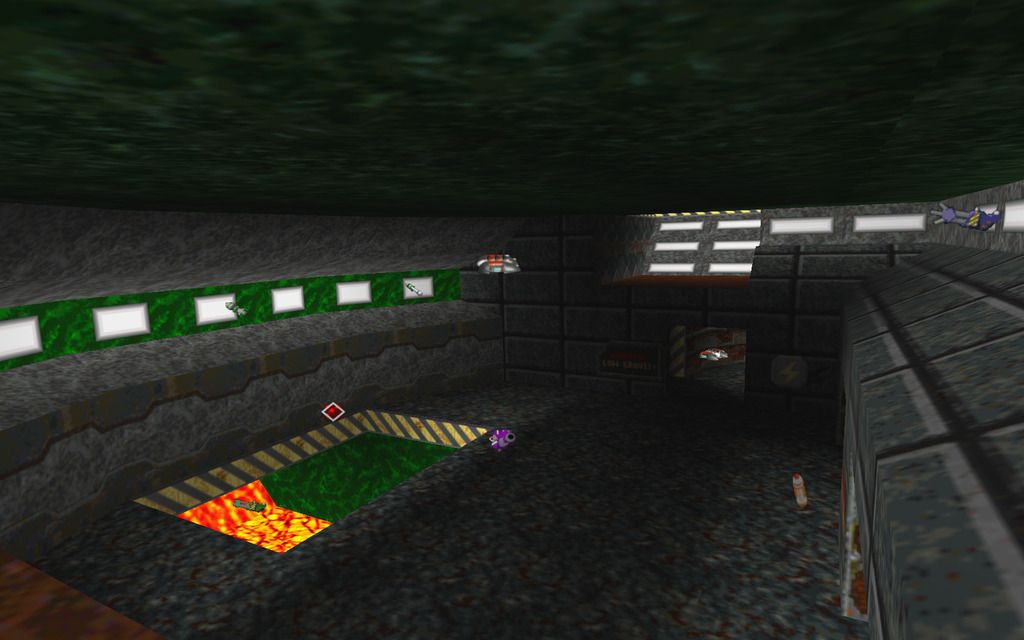
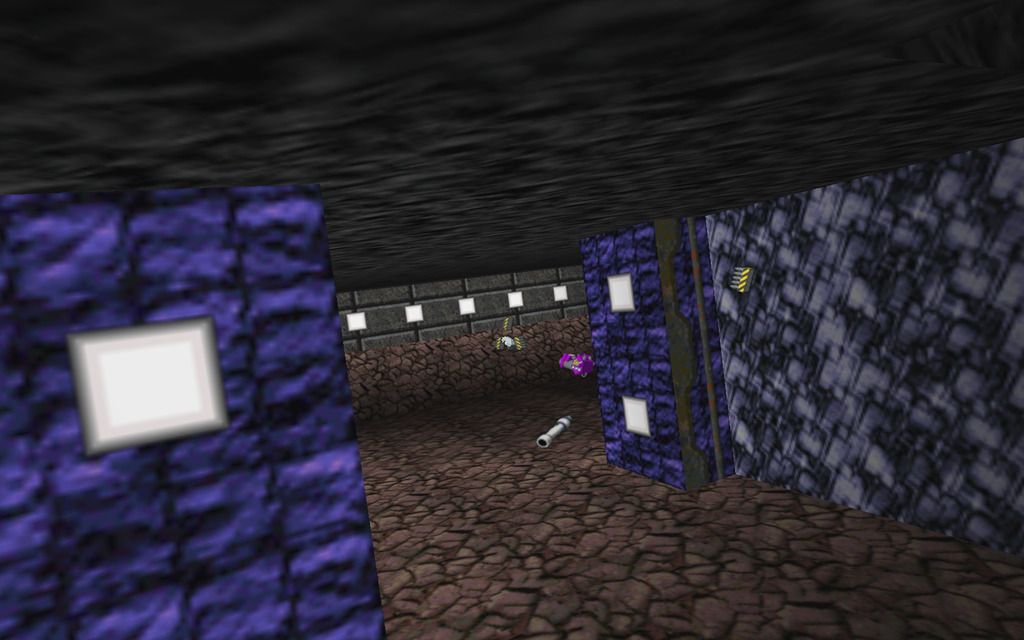
Level 3: "Rime of the Submariner"
Wider tunnels surrounding a central dogfighting room, similar to Level 4 of "The Duellists." D2 introduces the Super Lasers here, but also has a single four-pack of Smart Mines available.

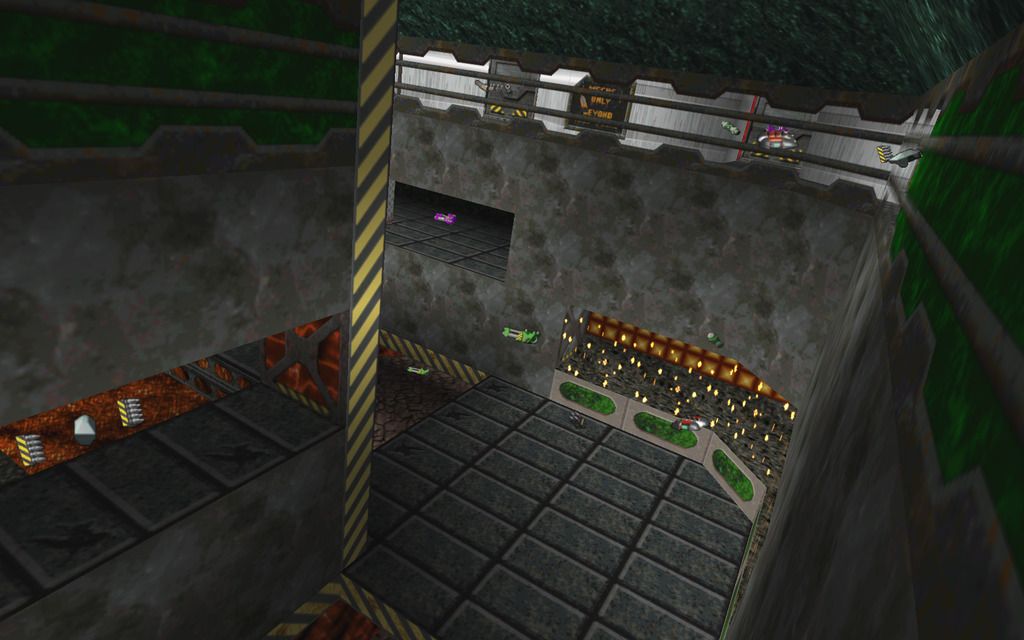
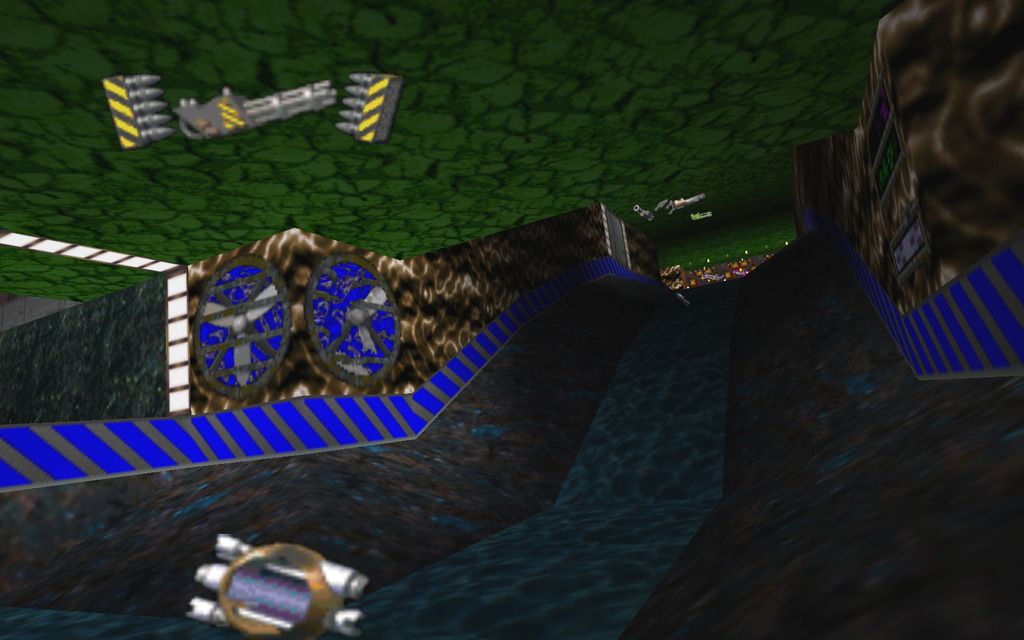
Level 4: "Peripheral Visions"
This L-shaped dogfighting room is one of the most vertical sections in the entire set, but there's much more to this level in terms of space. The D2 version introduces the Gauss here, but there are plenty of corners and support beams to hide behind so it's not all long sight lines. Level 4 does have a Mega Missile as well, however.
Level 5: "Astrodome"
Navigating the stacked center area well can be important for surprising players who prefer to stick to the outsides. Features Gauss and Helix Cannons as well as Energy Converters in the D2 versions.

Level 6: "Fusion Fantasy"
Competing with Level 1 for the most compact level in the set. The Fusion Cannon is indeed the centerpiece for both versions, so you may want to enable D1-powered Fusion for playing in D2 if your source port allows it.
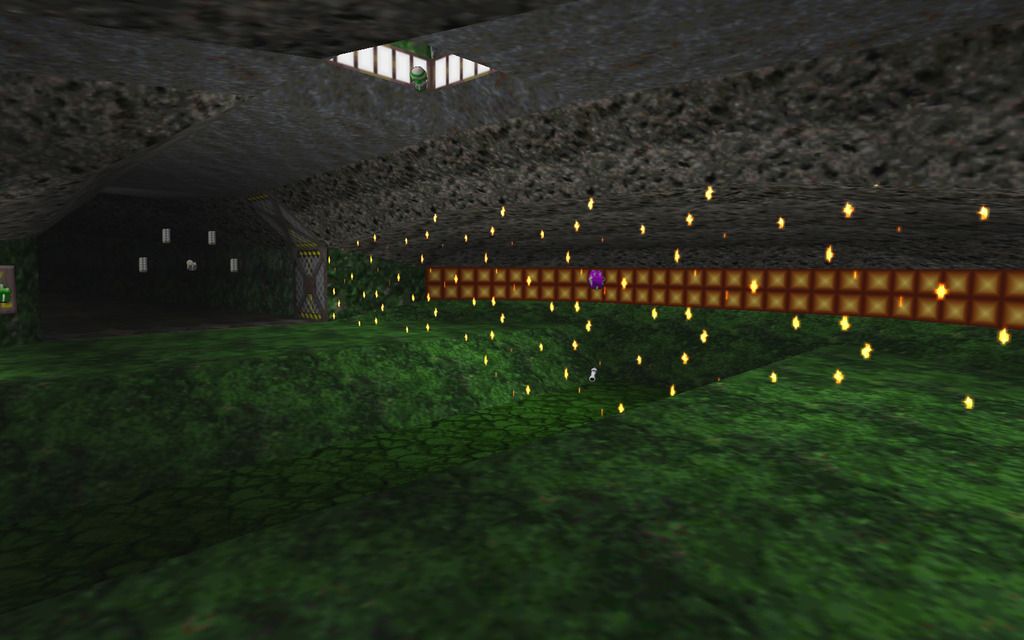
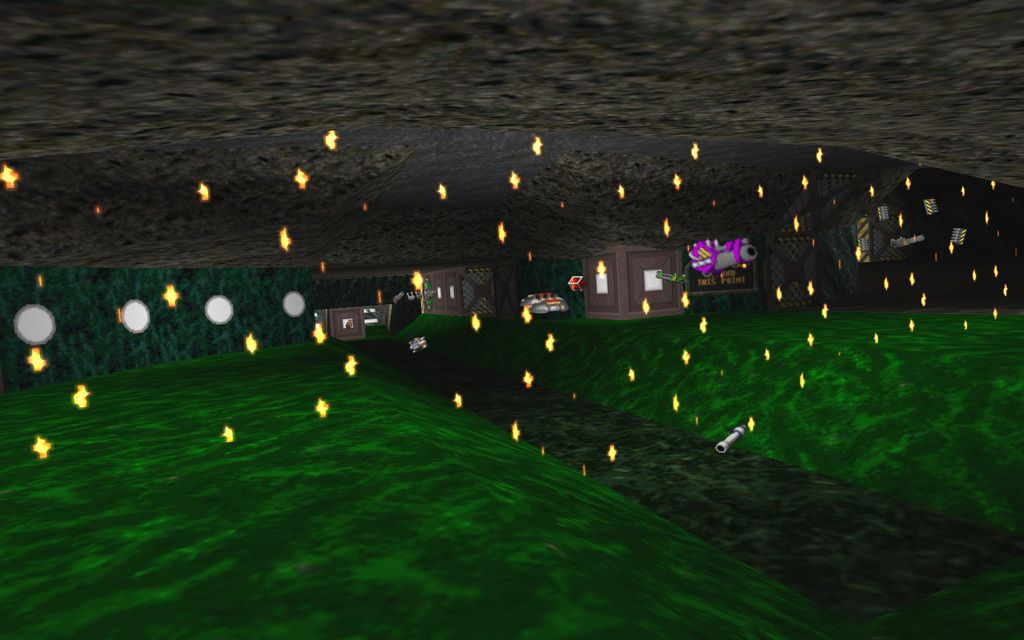
Level 7: "Mayhem Gulch"
The level name itself came from a nature walk when I was out in Colorado for the LAN, but the level itself wasn't fully conceptualized until two years later. More or less anything-goes in terms of weapons in both games, though you may need to be quick and uninterrupted to get out the Mega and/or Shaker.